Installation on Windows 10 for Office 365
This documents is intended to describe the installation of the Edgelab Excel Add-in. Depending on your version of Windows and Excel, the screen captures may look different.
For reference, the demonstration uses a Windows 10 pro with Excel for Office 365 ProPlus MSO Version 1903 (April 2020).
Installation of the Add-in
The installation of the Add-in is done through an MSI file. Normally the installation should not require administrative rights, unless your organisation has special security restrictions in place, in which case only IT administrators within your company may be able to perform the installation. After having verified that Excel is closed, please double-click on the downloaded MSI file to start the installation process.

Navigating through the installer
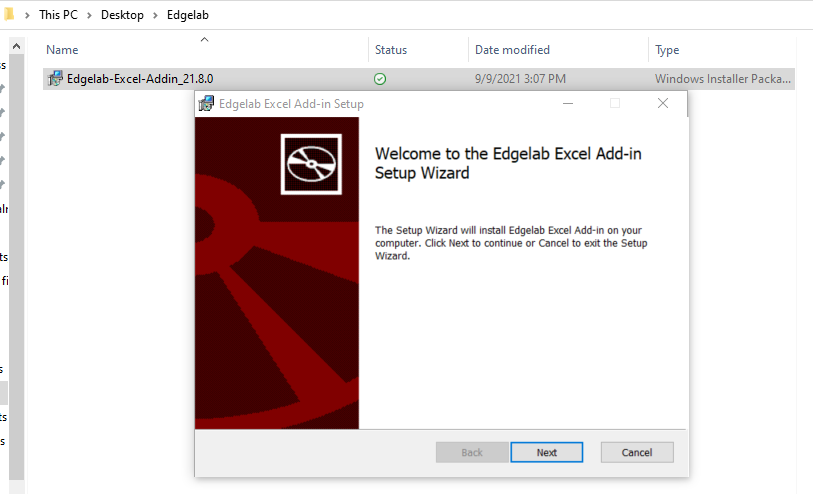
An installer will then pop-up.
Selecting components
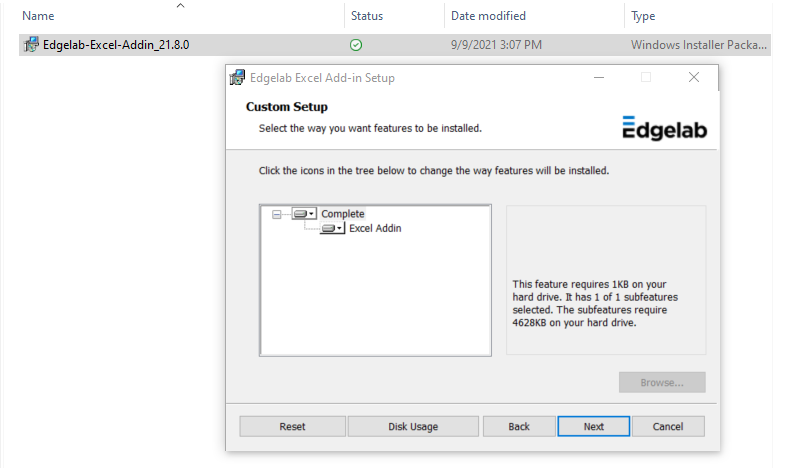
The Add-in consists of two main components: a custom ribbon bar, providing an easy to use UI to some of the most important settings, and a collection of special functions that can be used in your workbooks to access Edgelab data. The first screen allows you to customize the installation by optionally selecting the components you want. NOTE: We highly recommend that you install all components for optimal usage. Only de-select components if you were instructed to do so by either Edgelab support staff or your own IT department.
Starting the installation
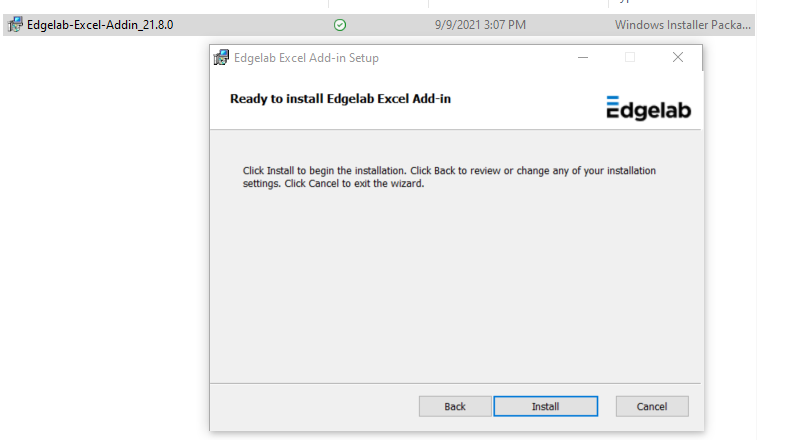
Next, click “Install” to start the actual installation.
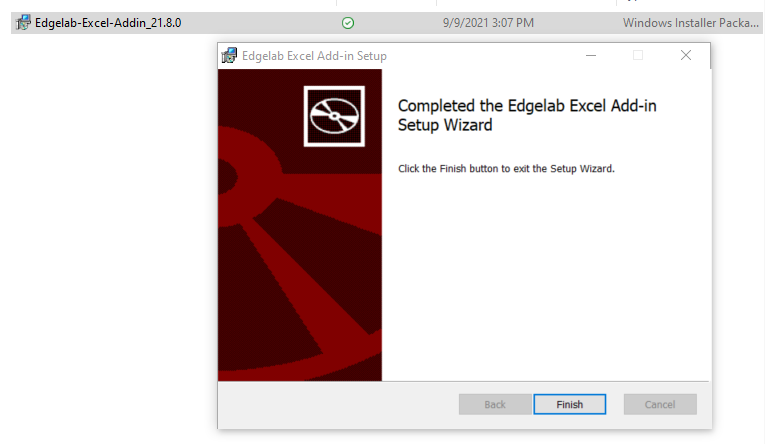
When done, click “Finish” to close the installer.
Customization within Excel
Finally the Add-in also need to be activated within Excel. First open Excel and accept the installation by clicking on the button Install.
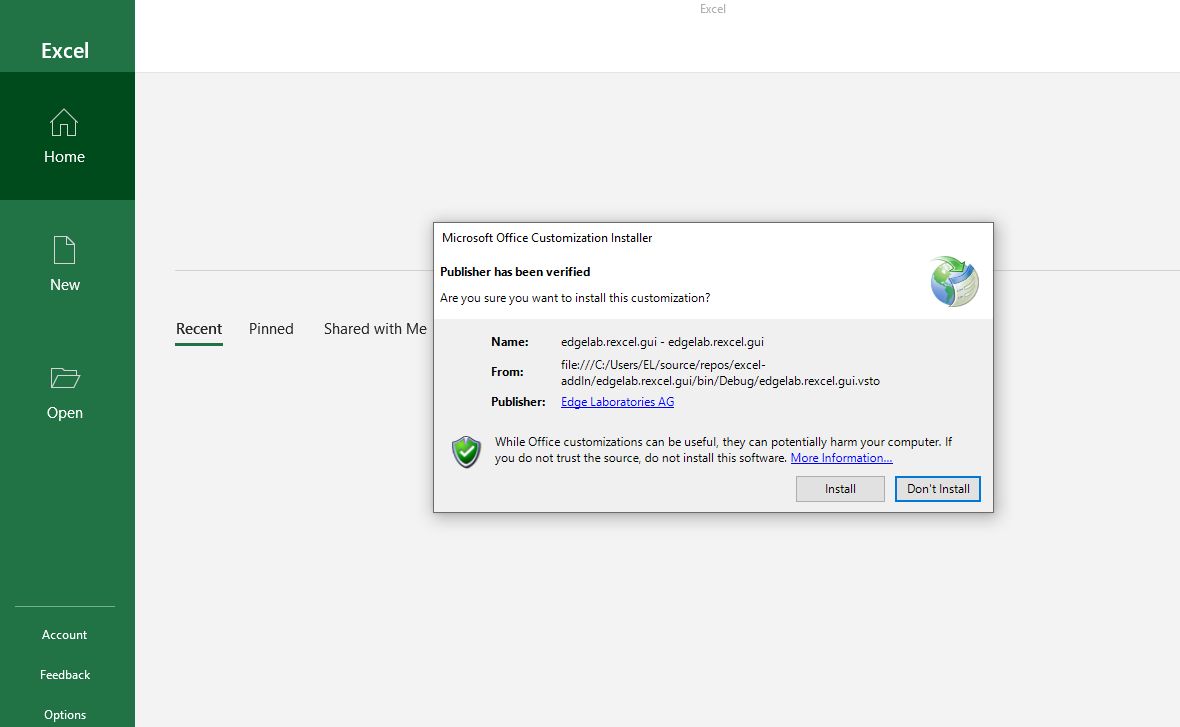
Verify the presence of the EdgeLab tab
After this step is complete, a new tab called EdgeLab should appear in the Excel menu.

Authentification through API key
The section describes the actual use of the Edgelab Add-in.
After a standard installation, a new tab called Edgelab will appear in the menu. Click on it.
The first step is then to activate the Add-in by registering your API key. This is done by navigating to Tab Edgelab -> Api key. The API key needs to be copied in the dialog box.
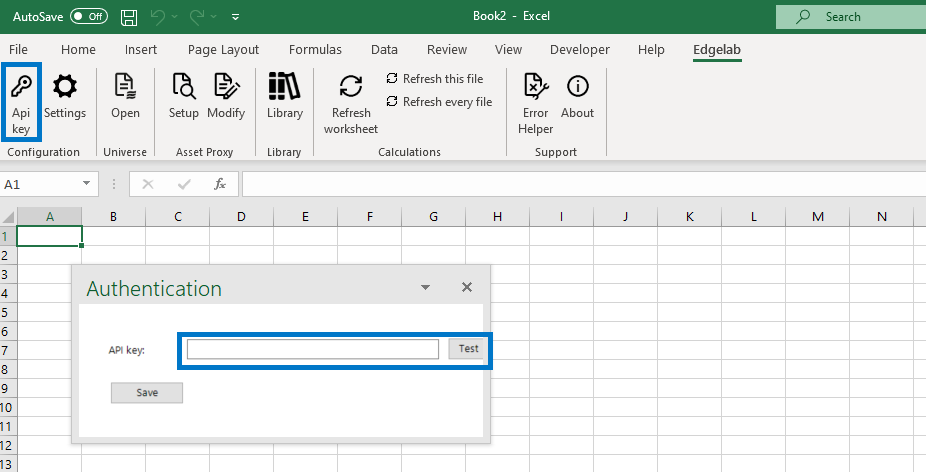
Configuring your network connection and your the unit for Commodity currency
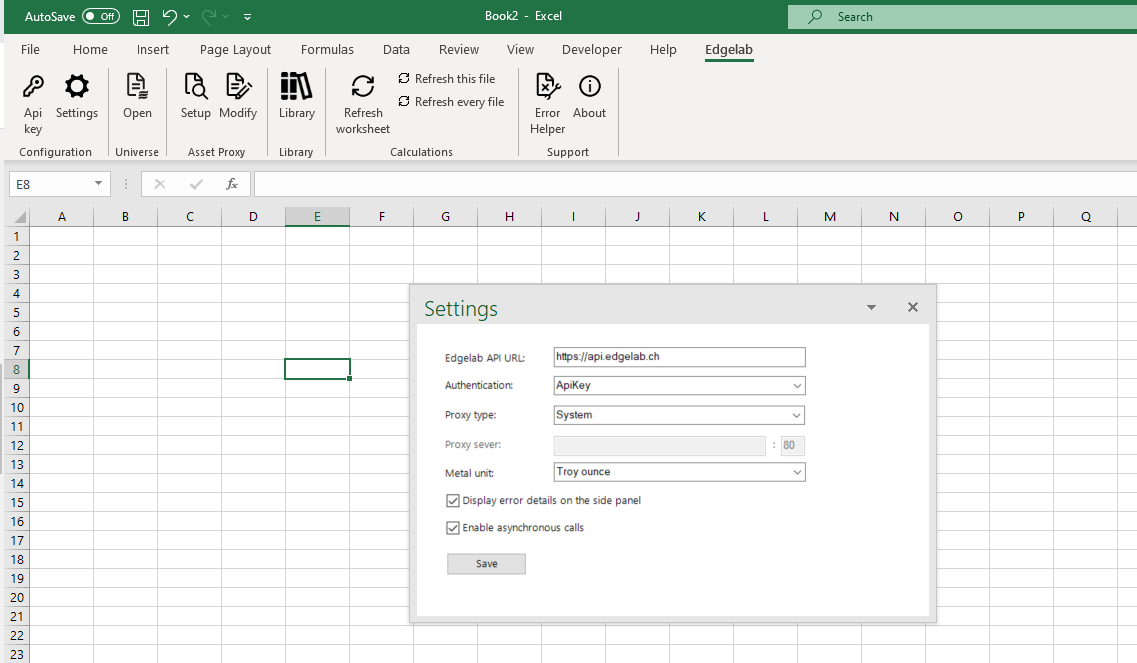
In case your network requires the use of a special proxy server to connect to the Internet, please specify it by clicking on the Proxy button under the Edgelab tab. Here you will be able to select between 3 choices: None, System and Custom. Select None (default) if you do not want to use any proxy server. Select System to use your global connection settings configured for your computer (under Internet Explorer). Finally select Custom and provide the proxy server’s URL and port if you wish to use a different proxy.
By navigating from Tab Edgelab -> Settings, you can parametrize the unit in which Commodity currency format (e.g. XAU) are expressed. Moreover, you can disable the Error Helper by unticking the dedicated box.
Obtaining information and support
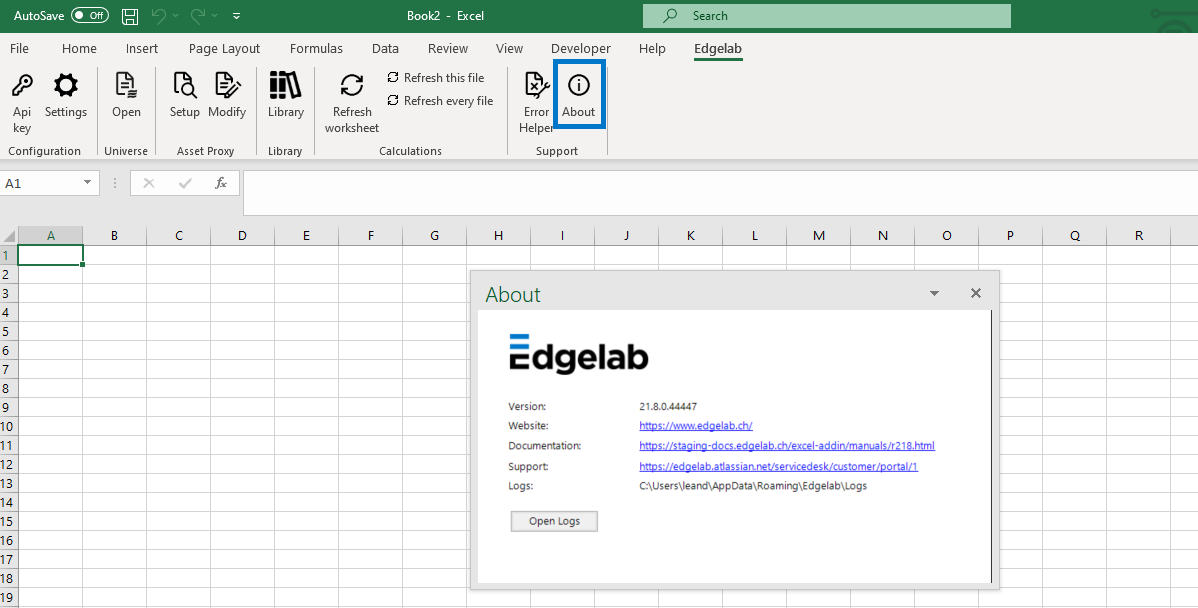
If for any reason, the Edgelab Add-in displays unusual behavior, Edgelab can be reached through our Support Portal. A shortcut is available under Tab Edgelab -> About -> Support.
Scripted/silent installation
The installer supports a completely silent installation from the command line by using the msiexec executable.
-
For a single-user installation: msiexec /i INSTALLER_NAME.msi /qn /l*v install.log
-
For a machine installation: msiexec /i INSTALLER_NAME.msi /qn /l*v install.log ALLUSERS=1
